
Rapid Prototyping
Rapid prototyping is a method that allows you to stack success very rapidly.
You take the smallest unit of an idea that you want to test, this idea could come from speaking to users, or it could come from something that you notice that you feel will make the biggest difference to the product.
We don’t need to build the perfect prototype. It’s about building something simple and getting it in front of an audience and then stacking the insights and then shifting the design process as we receive these insights.
The goal
Rapid prototyping is best done early in a product or feature lifecycle.
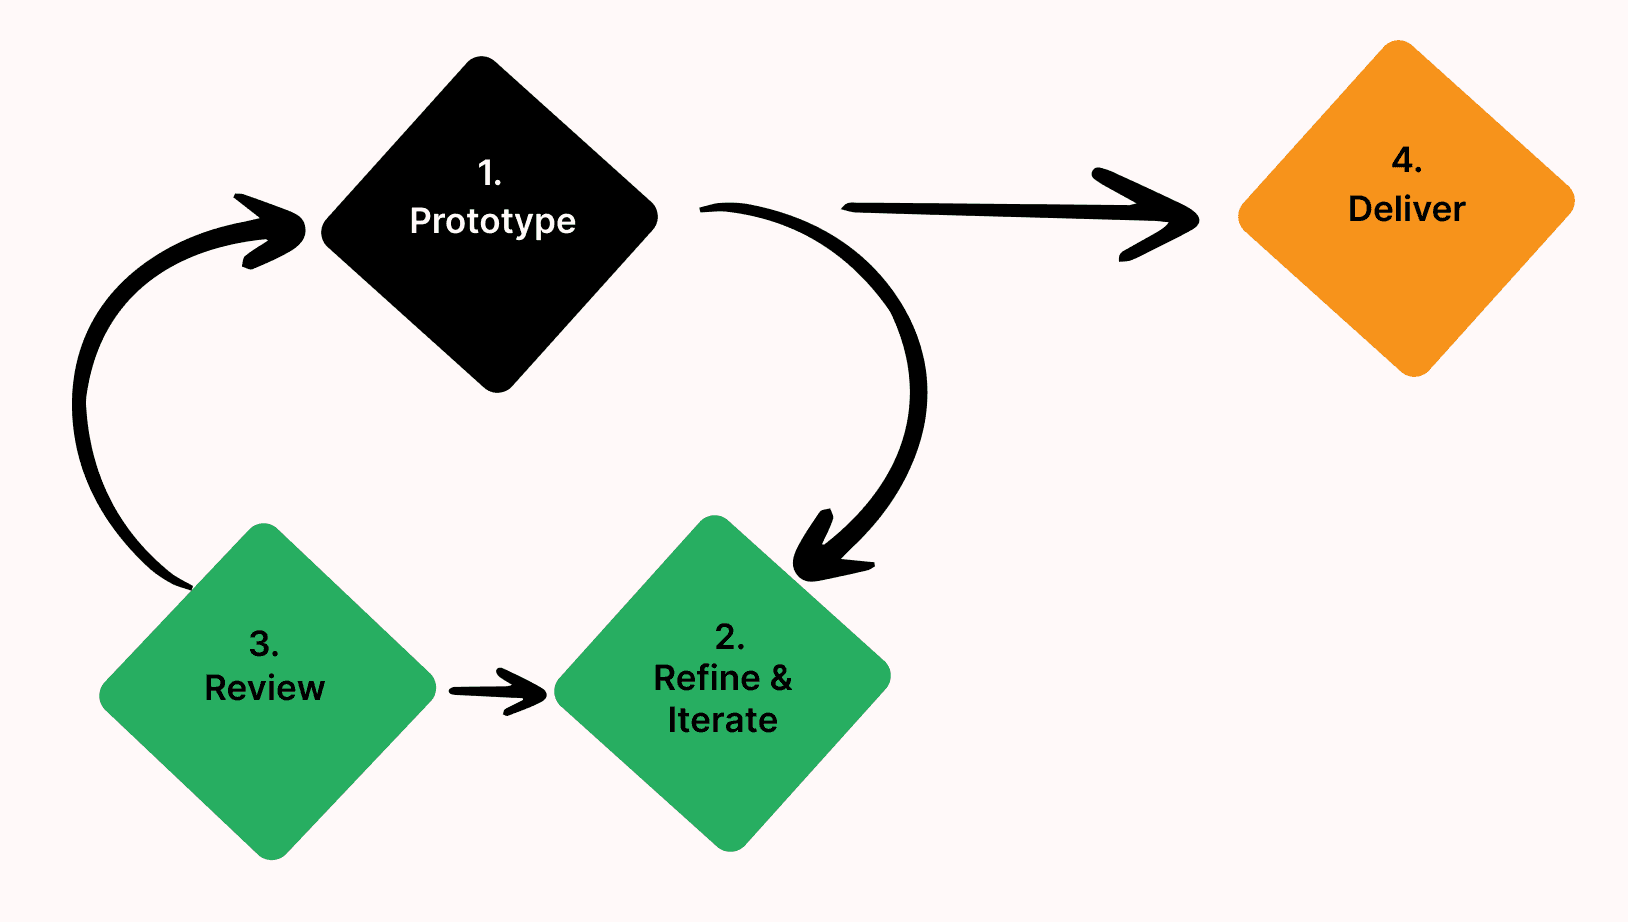
The goal of rapid prototyping is to quickly gather data from a minimum viable prototype to make improvements to a product. The prototype is tested using interviews to learn what's working and not.
What's working is kept and what's not working is discarded
The cycle is repeated 3-5 times
Benefits of this process
It is more cost effective to run more iterations of research and development with fewer participants than the other way around (see here for context). This approach is product innovation and testing on steroids, because it demands quick validation of what works, and tosses what doesn’t.

Step 1:
Determine the smallest level of product value that you want feedback on. Create a sketch, low fidelity prototype, or other similar level product.
Test the product with 5 or so users to determine their feedback.
Ask questions such as the following:
What are your thoughts about what you're seeing?
How would you use it?
What problem would it solve for you?
What do you like?
What do you dislike?
You'll usually notice participant agreement about whether something is working or not. If not, that's fine - run a few more sessions.
You'll notice other ideas emerge or get mentioned by participants. Good - throw them in your backlog or toss them in your repository.
Keep what's working and discard what isn't. Do this by refining your prototype with what you've learned in interviews. Don't go overboard - the goal is not a full overhaul of the product or feature. Keep the intervention as small as possible.
Step 2:
Test the V2 of the sketch or low fidelity prototype with another 5 participants. Repeat the instructions in bullet point 2.
Repeat again with V3.
As you can tell, the goal is to collect feedback early, without having invested large resources. This is practising risk mitigation - it's much cheaper to run these tests early and get a customer vibe check, refine, and kill what's not working, than it is to invest in building a flop.
Additional reading:
https://careerfoundry.com/en/blog/ux-design/rapid-prototyping-guide/

